Create your new makeup look right now
Upload your photo and get 4 looks on you, not on a model.
Upload tips
- · Daylight, facing the camera
- · Bare or light makeup shows the difference best
- · No sunglasses, hair away from the face
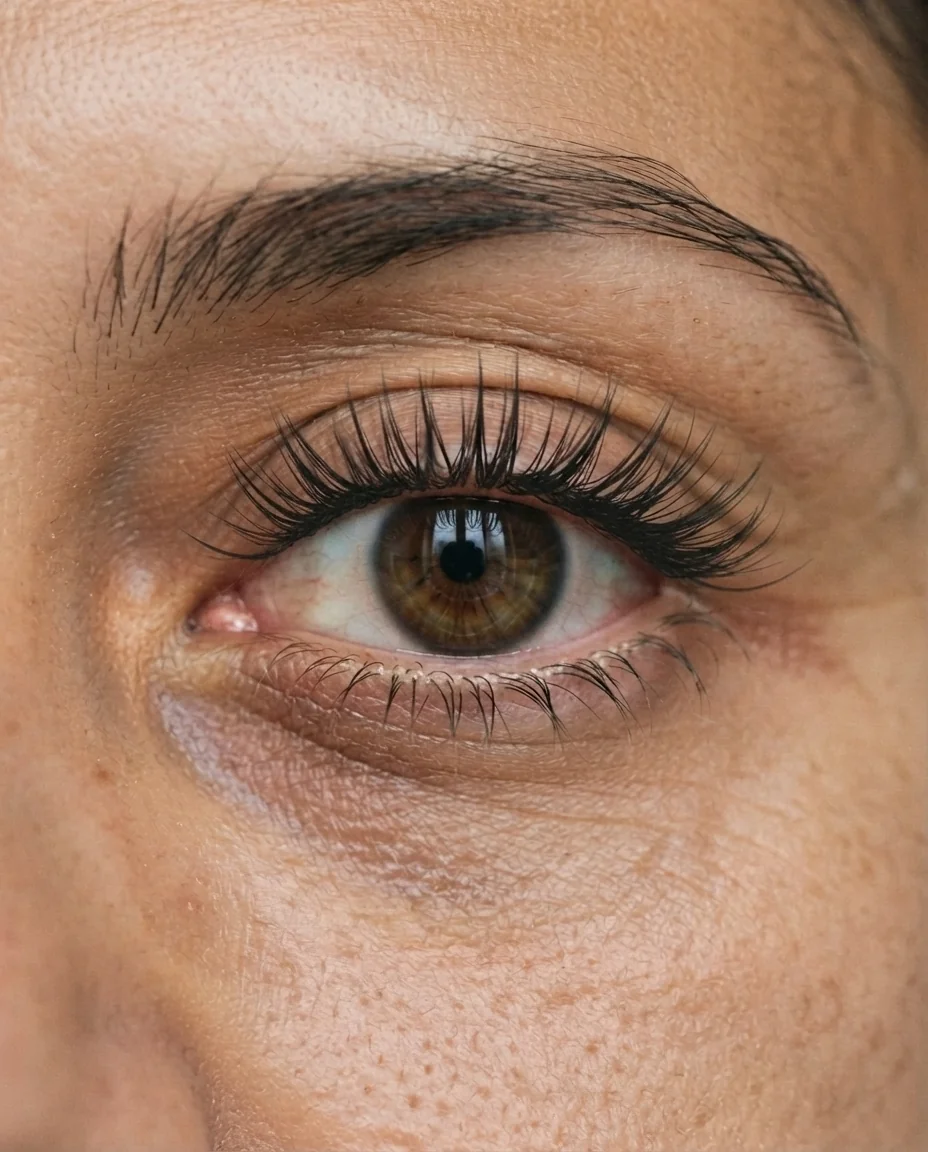
Makeup looks are drawn on faces that are not yours
Tutorials and reference photos are shot on features that already suit the look — that is why the look was shot on them. Rendered onto your own photo, the same technique has to work with your eye shape, your brow position and your skin, and the difference is immediately obvious.
What you can try
Occasion
Everyday, work, date night, party, wedding and photoshoot. Occasion is not decoration here: it sets how much is on the face and how it will behave under different light.
Technique and style
No-makeup, sculpting, smokey eye, cut crease, winged liner, glass skin and full matte, in a soft and romantic, bold glam, clean girl, editorial, vintage or grunge direction.
Winged liner and eye shape
The angle that opens a round eye closes a hooded one. This is the single most useful thing to check on your own photo rather than a reference.
Matte against glass skin
The same face can look sharper or softer depending only on finish, with no change to colour at all.
Photographing your face for a usable result
Straight on, daylight, hair back from the face, and preferably bare or close to it — the less that is on the face already, the cleaner the comparison. Avoid overhead light: it drops shadows under the eyes and into the nasolabial folds, and every look will read heavier than it is.
Makeup for a camera is not makeup for a room
A look built for a photograph carries more contrast than the same face needs across a table, because a lens flattens everything it records. That is why a wedding or photoshoot look here is deliberately heavier than the everyday one, and why the everyday one can look underdone in a picture. Choosing the occasion first, and only then the technique, keeps the two from being confused.
Working with your own features
Brow position sets how much room there is above the eye, and therefore whether a cut crease has anywhere to sit. Eye shape decides whether a smokey eye opens or closes the face. Skin texture decides whether a glass finish reads as glow or as shine. None of these are preferences, they are facts about your face — and they are the reason a technique that transformed somebody online can fall flat on you.